This guide is for enterprise installation using a MSIX installer (link provided on the homepage). You must have admin privilege on your corporate IT system.
For existing users, the app will self-check upon start and auto-update if there is a newer version; instructions below are only relevant for first-time installations.
Step I. Install the PFX Certificate
- Create and export a new PFX certificate for the app, following Microsoft guidelines.
The PowerShell command for PFX certificate creation is:
New-SelfSignedCertificate -Type Custom -Subject "CN=5AF03A76-003B-47BC-9DE5-A2491073C339" -KeyUsage DigitalSignature -FriendlyName "Self-Signed Certificate for SCR Calculator Package" -CertStoreLocation "Cert:\CurrentUser\My" -TextExtension @("2.5.29.37={text}1.3.6.1.5.5.7.3.3", "2.5.29.19={text}")
Suppose the thumbprint of your certificate is 'DC109996EA2A6E8B7D86EB4EEDD2FE4E6A22CC0A' and your preferred password is '2008david', then the PowerShell command for PFX certificate export is:
- Or, more easily, instead of the above step, you can download a pre-made one (password '2008david').
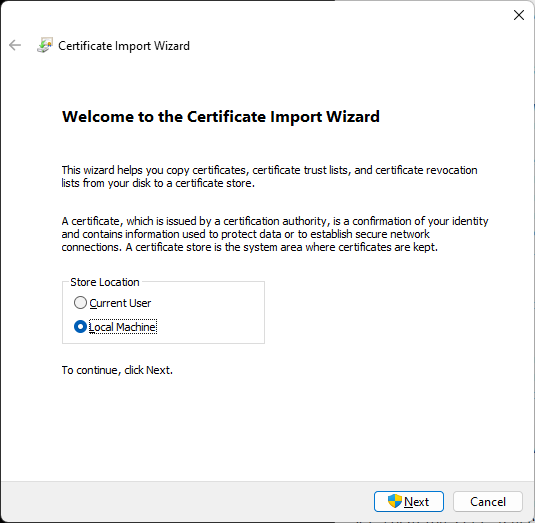
- Double click the PFX file (or right-click and select 'install PFX'). When prompted, select 'Local Machine':
-
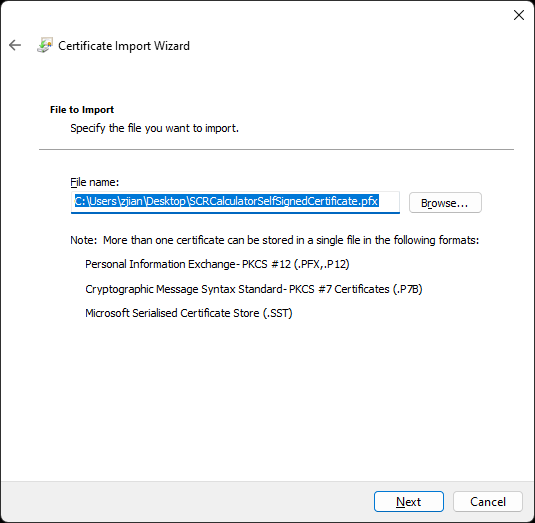
Continue with the next screen of 'specify file'. Do not change anything.
-
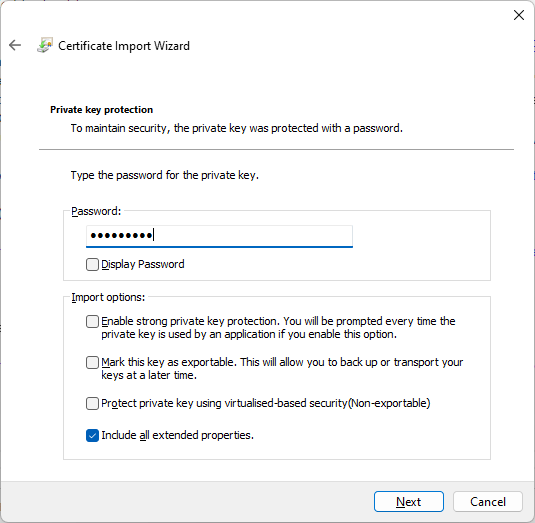
In the next screen, enter password '2008david'. Do not change anything.
-
In the next screen, select 'Place all certificates in the following store'. Click 'Browse'
In the pop-up screen, select 'Trusted Root Certification Authorities':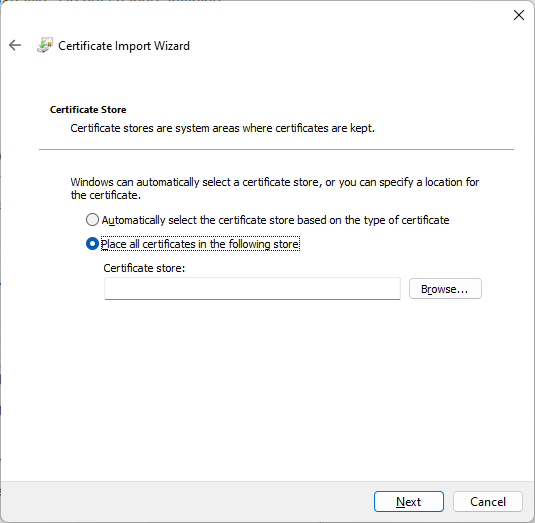
In the same pop-up screen, further click the checkbox ''Show Physical Stores"; and under the "Trusted Root Certification Authorities", select 'Enterprise' (if there is such an option).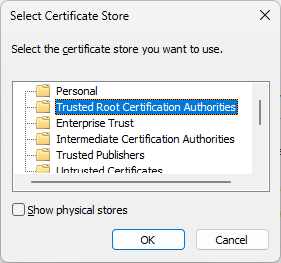
-
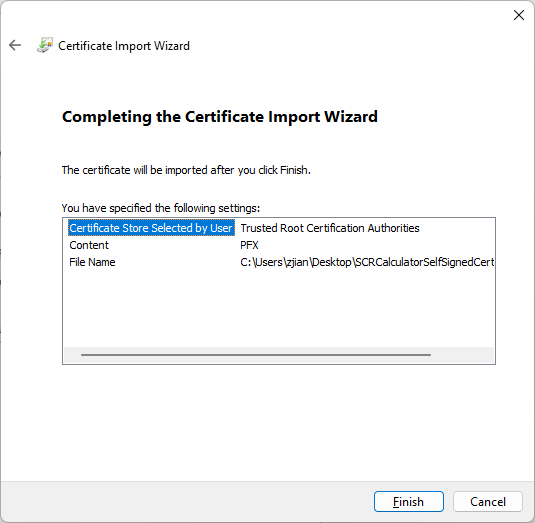
Close the pop-up window, click next:
Then finish import: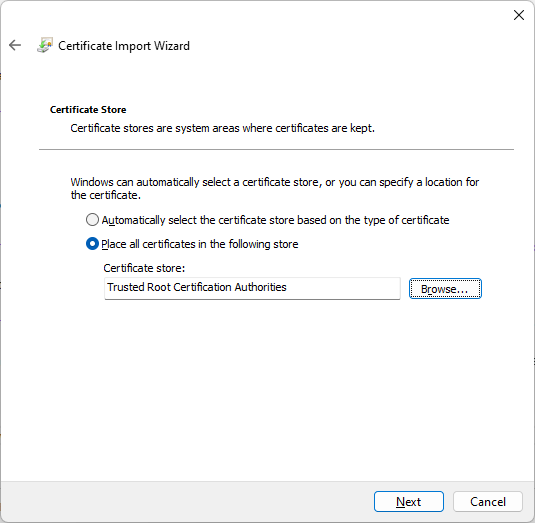
$password = ConvertTo-SecureString -String 2008david -Force -AsPlainText
Export-PfxCertificate -cert "Cert:\CurrentUser\My\DC109996EA2A6E8B7D86EB4EEDD2FE4E6A22CC0A" -FilePath C:\Users\zilin\Documents\GitHub\SCRCalculator\SCRCalculatorSelfSignedCertificate.pfx -Password $password
Step 2 Install the App
- Download the app msix installer using the link given on the frontpage of this website.
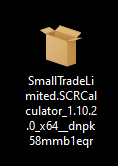
It is called "SmallTradeLimited.SCRCalculator_1.xx.x.0_x64__dnpk58mmb1eqr.msix" where "1.xx.x.0" is the version number.
It looks like this on my desktop:
-
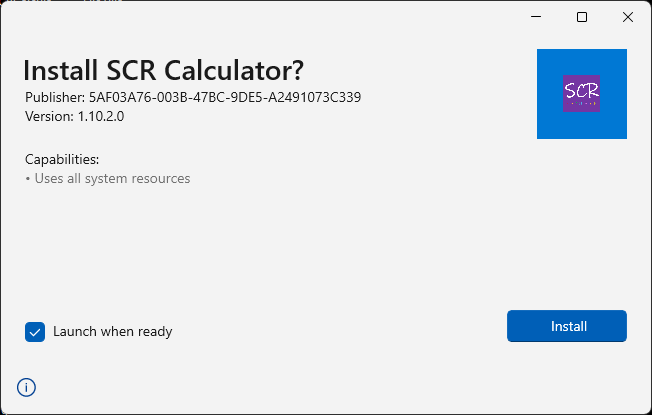
Double click it and it should install smoothly.
-
Some users on virtual machines or vpn to remote machines incur a 'Error: .exe file missing' issue.
In this case, there is an alternative, installation-free way: download this zipped program files folder, unzip it, and double-click the 'SCRCalculator.exe' file to run the App directly.
This method should only be used as a last resort. Everytime there is a new release, you need to manually download this folder again.
-
Anything still not resolved, you can contact us.
Step 3 Update the App
- From version v1.12.2.0 onwards, the app will self-check and auto-update to the latest version upon every use; so no actions are needed from existing users.
Dependencies - .Net Framework
-
The App is built under the .Net Framwork (latest version 4.8.1). The .Net Framework is a part of the Windows operating system (both Windows 10 and 11), so normally there should be nothing needed to install.
In case you do need to install it, it is available on the Microsoft Official Website.
Dependencies - WindowsAppRuntime
-
Some users experience a "Provide the framework 'Microsoft.WindowsAppRuntime.1.4'" prompt upon installation.
The official download location for this framework is:
Download Microsoft.WindowsAppRuntime.Redist.1.4.231115000-231116.0.83466759 from Official Microsoft Download Center.
The downloaded zip is c. 250mb in size and includes different installers of the framework for different environments (x86, x64, etc.)
You can pick a suitable one for your own case.